7 Tips for Mounting Solar Panels at Home
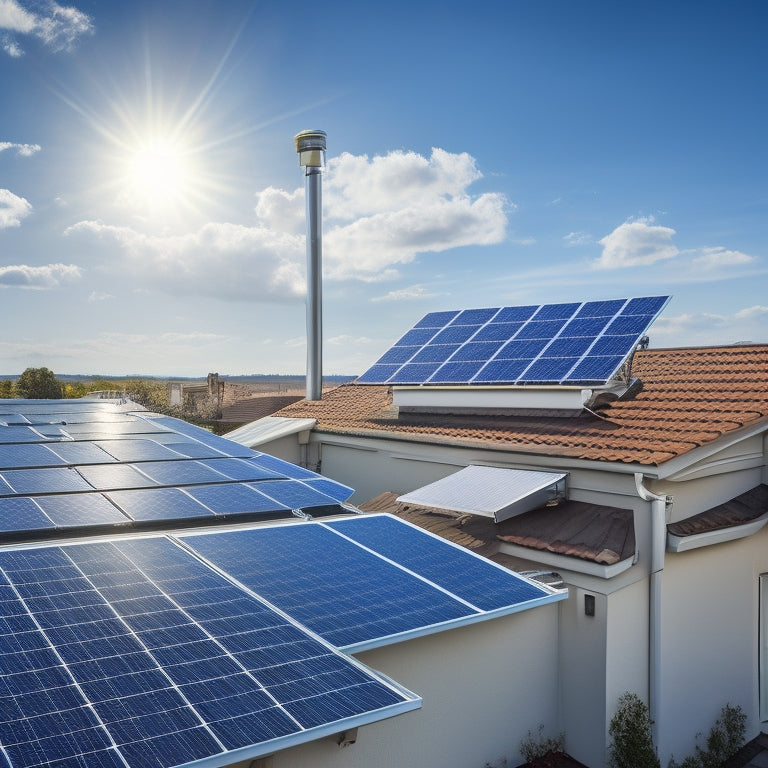
When mounting solar panels at home, start by evaluating your roof's condition, verifying it can support the added weight and inspecting for signs of wear. Next, choose the right mounting type, considering fixed, adjustable, and tracking options. Identify potential obstacles and shading issues, conducting a shading analysis to determine ideal panel placement. Calculate the perfect tilt angle based on your location and roof orientation, and maintain proper panel spacing for maximum energy production. Secure your panels to the roof using appropriate installation methods, and consider ground mounting alternatives if necessary. By following these tips, you'll be well on your way to a successful solar panel installation, and there's still more to investigate to verify a seamless and efficient process.
Overview
- Assess your roof's condition and structural integrity to ensure it can support the added weight of solar panels.
- Choose the right mounting type, considering fixed, adjustable, and tracking mounts, and ensure compatibility with local building codes.
- Conduct a shading analysis to identify obstacles and optimize panel placement for maximum sun exposure and energy production.
- Calculate the optimal tilt angle based on location and roof orientation, and maintain adequate panel spacing for airflow and cooling.
- Ensure secure installation of roof anchors and solar panels, following manufacturer's instructions and considering roof type and local regulations.
Assessing Your Roof's Condition
Since you're contemplating mounting solar panels, you'll need to evaluate your roof's condition to confirm it can support the added weight and withstand the installation process. This involves conducting a thorough roof inspection to identify potential issues that could impact the structural integrity of your roof.
Check for signs of wear and tear, such as cracked or missing tiles, curled or buckled shingles, and rusted or corroded flashing. It's also crucial to think about the best site selection for your solar panels, confirming they're installed at an angle that maximizes energy production ground-based installations.
Also, inspect the roof's underlying structure, including the rafters, trusses, and sheathing, to verify they're in good condition. A solid roof is essential for a successful solar panel installation, so don't skip this critical step.
Choosing the Right Mounting Type
With your roof's condition assessed, you're ready to investigate the world of solar panel mounting types, an essential aspect of the installation process that requires careful consideration.
When selecting a mounting system, consider top-rated ground mounting racks that offer exceptional durability and ease of installation, and confirm compatibility with various solar panel brands and sizes compatible systems.
You'll need to decide between fixed, adjustable, and tracking mounts, each with its own advantages and limitations. Fixed mounts are cost-effective and easy to install, while adjustable mounts allow for seasonal adjustments. Tracking mounts, on the other hand, maximize energy output by following the sun's movement.
Consider the mounting materials and installation tools required for each type, as well as their compatibility with your roof's structure and local building codes.
Considering Obstacles and Shading
Get ready to tackle obstacles and shading issues that could impact your solar panel's performance.
When evaluating your roof, identify potential obstacles like vents, skylights, or chimneys that may cast shadows or block sunlight.
Consider the type of inverter technology that will optimize energy efficiency, such as string, micro, or pure sine wave inverters, to guarantee maximum energy harvesting.
Conduct a shading analysis to determine the best placement for your panels.
Consider the time of day and year when the sun is highest in the sky, as well as any surrounding structures that may cast shadows.
Perform an obstacle evaluation to identify any physical barriers that could hinder energy production.
Selecting the Ideal Panel Angle
When selecting the ideal panel angle, you'll need to calculate the best tilt based on your location's latitude and roof orientation.
Additionally, you'll want to take into account any roof obstructions, such as vents or skylights, that may affect panel placement.
Optimal Tilt Calculation
Your solar panel's performance hinges on its angle, making ideal tilt calculation a crucial step in the installation process. To optimize your solar panel's energy output, you need to calculate the ideal tilt angle based on your location's latitude and climate. A general rule of thumb is to set the tilt angle equal to your latitude, but this may vary depending on the season and local weather patterns.
| Latitude Range | Ideal Tilt Angle |
|---|---|
| 25° - 30° | 25° - 30° |
| 30° - 40° | 30° - 35° |
| 40° - 50° | 35° - 40° |
| 50° - 60° | 40° - 45° |
Proper tilt optimization guarantees maximum sun exposure, leading to increased energy production and reduced energy costs. By taking the time to calculate the ideal tilt angle, you'll be able to utilize the full potential of your solar panels and enjoy the freedom that comes with renewable energy.
Roof Obstruction Considerations
A well-designed solar panel installation requires careful consideration of roof obstructions, as they can greatly impact energy production.
You'll need to assess your roof's ventilation system, ensuring that it won't obstruct airflow to your solar panels. Additionally, consider the aesthetic impact of your panel installation, ensuring it complements your home's design.
Identify potential obstructions like skylights, vents, and chimneys, and plan your installation around them. This might involve adjusting the panel angle or using specialized mounting systems.
Seasonal Angle Adjustments
Optimizing energy production requires adjusting the solar panel angle to match the changing seasons.
As you aim to maximize your energy independence, you'll need to make seasonal adjustments to your panel's angle. During winter, tilt your panels at a steeper angle (around 42°) to capture more sunlight.
In summer, a shallower angle (around 24°) is ideal to prevent overheating. By optimizing your panel's angle, you'll increase energy production and reduce your reliance on the grid.
Remember, angle optimization is vital for maximizing your solar panels' potential.
Take the time to make these seasonal adjustments and enjoy the benefits of clean, free energy.
Ensuring Proper Panel Spacing
Position solar panels too close together and you'll sacrifice energy output; position them too far apart and you'll waste precious roof space. To find the sweet spot, consider your panel orientation and installation guidelines. As a general rule, you want to leave about 2-3 inches of space between each panel to guarantee airflow and prevent overheating.
| Panel Spacing | Energy Output |
|---|---|
| Too Close (0-1 inch) | Reduced (up to 10%) |
| Ideal (2-3 inches) | Maximum |
| Too Far (4-6 inches) | Reduced (up to 5%) |
| Extremely Far (7+ inches) | Minimal |
Securing Panels to the Roof
When securing solar panels to your roof, you'll need to take into account the type of roof you have, as different materials require specific installation methods.
For example, metal roofs require specialized clamps, while asphalt shingle roofs use flashings and lag bolts.
You'll also need to make certain that your roof anchors are installed correctly to provide a solid foundation for your solar panel system.
Roof Type Considerations
As you prepare to secure your solar panels to the roof, you'll need to evaluate the type of roof you have, as different materials and structures require unique approaches to guarantee a safe and efficient installation.
When it comes to roof type considerations, you'll want to take into account factors such as roof weight, wind resistance, installation costs, and aesthetic impact. Here's a breakdown of some common roof types and their corresponding considerations:
| Roof Type | Installation Considerations | Aesthetic Impact |
|---|---|---|
| Flat Roofs | Specialized solar mounts required | Minimal visual impact |
| Pitched Roofs | Standard solar mounts suitable | Can be hidden from view |
| Metal Roofs | Clamps and brackets needed for secure attachment | Industrial look may not appeal to everyone |
| Shingle/Tile Roofs | Flashing and waterproofing required | Can blend in with existing roofing material |
Roof Anchor Installation
With your solar panels selected and roof type considerations addressed, it's time to secure them to your roof using roof anchors.
Roof anchors are designed to guarantee roof safety by providing a sturdy attachment point for your solar panels. You'll need installation tools like a drill, bit set, and wrench to get the job done.
Start by marking the location of the anchors on your roof, taking care to avoid obstructions like vents and skylights. Then, drill pilot holes and screw the anchors into place.
Make certain they're securely fastened to withstand wind and weather conditions. Finally, attach your solar panels to the anchors, following the manufacturer's instructions for a safe and secure installation.
Ground Mounting Alternatives
Your solar panel installation may not require a traditional ground mount, thanks to various alternatives that cater to different site conditions and project requirements.
If you're dealing with unstable or uneven ground types, you can opt for a ballasted system that doesn't penetrate the soil. This method is ideal for sensitive environmental areas or sites with poor soil quality.
Alternatively, you can choose a helical anchor system that's more cost-effective and suitable for compacted soil.
Consider site orientation, local regulations, and aesthetic considerations when selecting an installation method.
Don't forget to factor in maintenance requirements, drainage solutions, and environmental impact to guarantee a hassle-free solar panel experience.
Frequently Asked Questions
Can I Mix Old and New Solar Panels on the Same Roof?
You're considering mixing old and new solar panels on the same roof, but be aware that panel compatibility issues can arise, leading to installation challenges, reduced efficiency, and potential safety hazards, so it is crucial to assess compatibility before proceeding.
How Often Should I Clean My Solar Panels for Optimal Performance?
You've likely heard that dirty solar panels can decrease energy output, but did you know it's true? In fact, studies show that grimy panels can reduce efficiency by up to 25%! To avoid this, you should clean your solar panels every 6-12 months for peak performance.
Are Solar Panels Covered Under My Home Insurance Policy?
You'll likely find that your solar panels are covered under your home insurance policy, but review your policy to confirm coverage limits and verify you're protected against damage, theft, or other losses, giving you peace of mind and financial freedom.
Can I Install Solar Panels on a Metal Roof?
You can install solar panels on a metal roof, leveraging its benefits like durability and water-tightness, but consider specific installation requirements, such as specialized clamps and flashings, to guarantee a secure and watertight seal.
Will Solar Panels Void My Roof's Warranty?
When adding solar panels, you'll want to review your roof warranty implications; guarantee the installation meets manufacturer guidelines to avoid voiding the warranty, and follow solar installation guidelines to maintain your roof's integrity and coverage.
Ready to Buy
You've made it to the final step of installing solar panels at home. Now, you're probably thinking, "But what if I mess up and void my warranty?" Don't worry, following these 7 tips will guarantee a secure and efficient installation that meets manufacturer requirements. By doing your due diligence, you'll not only maximize energy output but also maintain your warranty. So, go ahead and take the leap – your wallet and the environment will thank you.
Related Posts
-
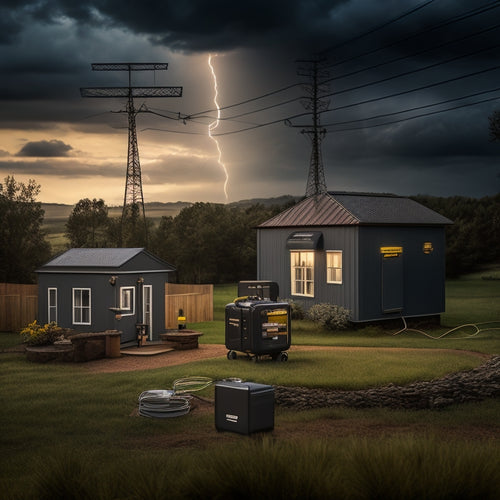
Key Components of a Reliable Emergency Power Supply System
A reliable emergency power supply system requires several key components. You need proven performance metrics to guar...
-

Solar Powered Lights for Sustainable Home Decor
Solar-powered lights offer a stylish and eco-friendly way to enhance your home decor. They capture sunlight, converti...
-
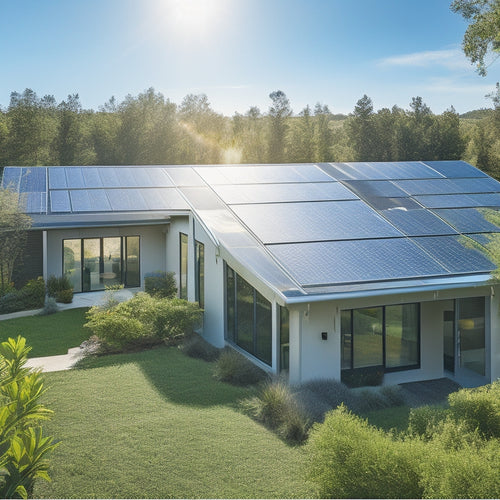
Installing Metal Solar Roofs for Maximum Energy Efficiency
Installing metal solar roofs can drastically enhance your home's energy efficiency and durability. These roofs withst...


