
Transforming a pantry into functional butler’s pantry
Transforming a basic pantry into a butler's pantry with cabinets and tons of storage!
We have a large pantry that I LOVE...the space is a dream after having a tiny pantry for so many years at our old house. Because of the size, we store more than just food in there -- lots of appliance, kitchen towels, paper goods, etc.
Shortly after we moved in a few years ago, I shared how I organized the melamine shelving in our pantry:
You should see how it looked before! Yikes.
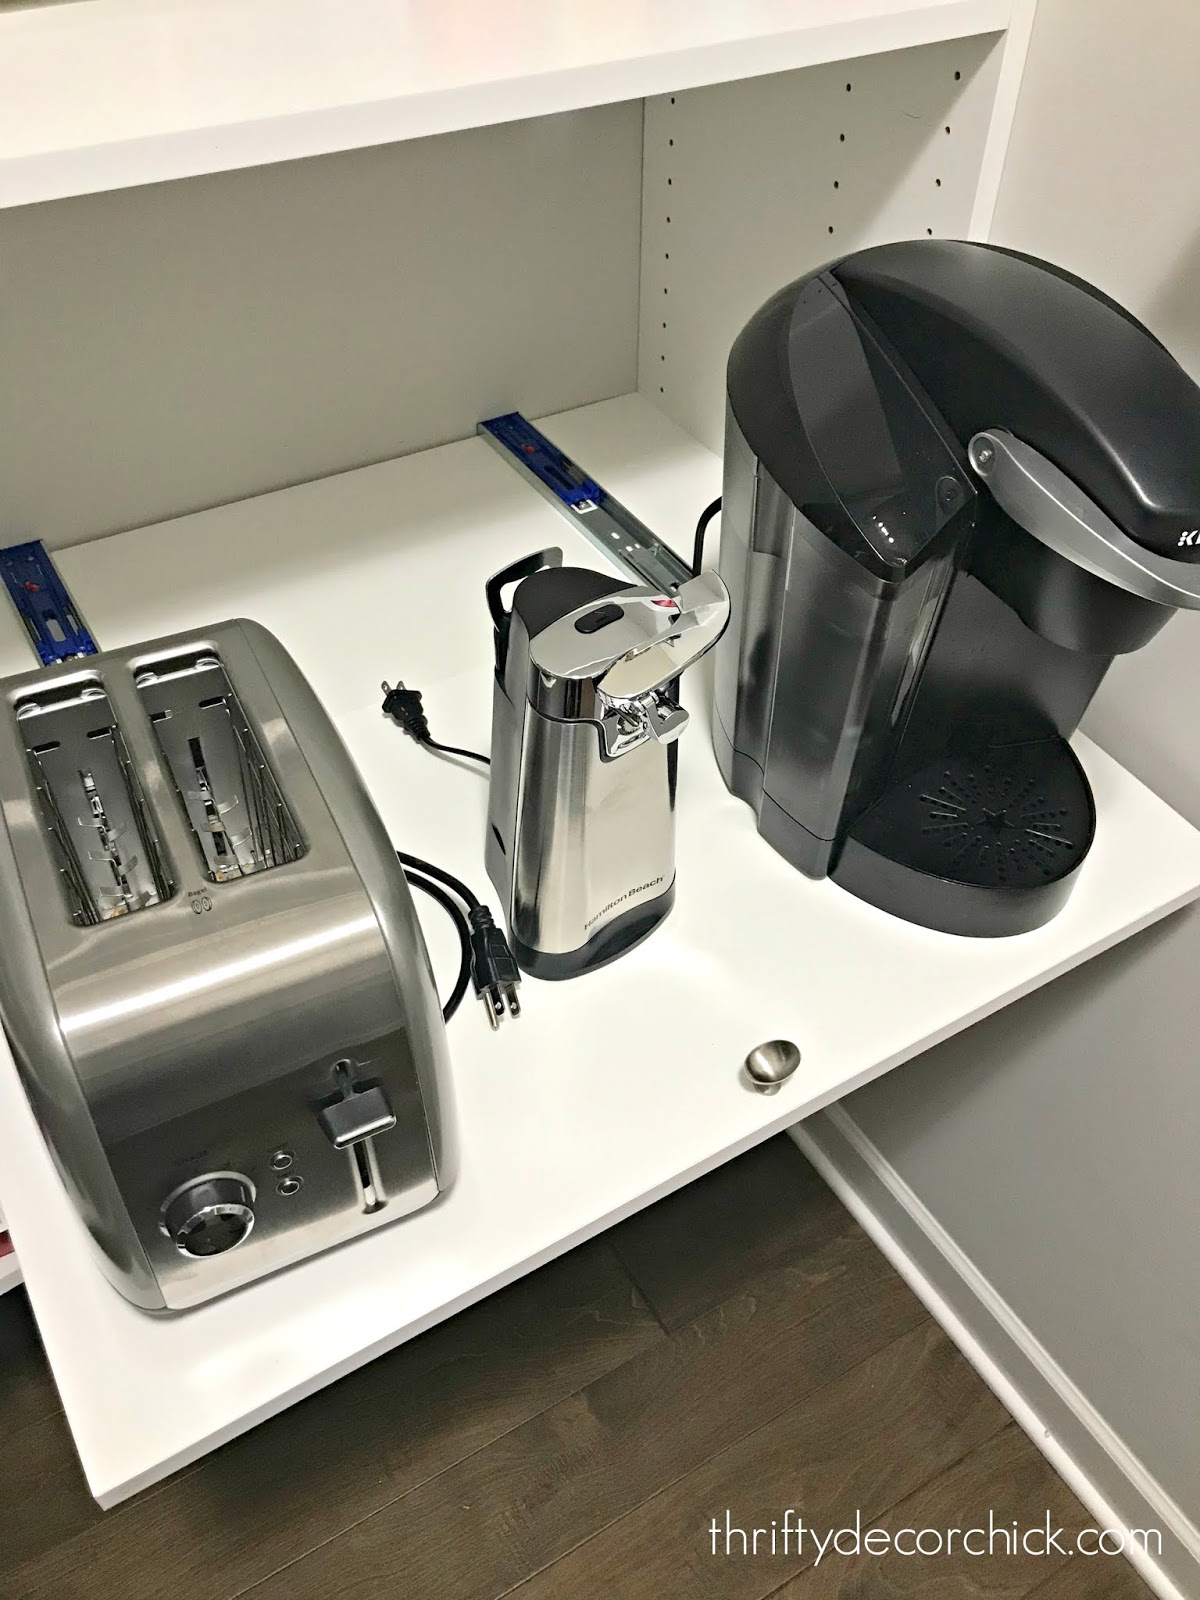
I later added a DIY pull out drawer with soft close slides for some of the everyday appliances we use in here:
This post may contain affiliate links for your convenience.
See my policies and disclosure page for more information.
We LOVE that thing -- it is so useful and I will be repeating it in this redo!
I've dreamed for years about turning our pantry into more of a butler's pantry -- where most of the food is hidden in the cabinets. We keep the pantry door open 24/7 because our animal's food is in there, and we are in and out all day long.
I have been craving a prettier space, but more importantly, more function! I felt like there was so much wasted with the open bottom under the shelves, and there was a good three feet above the top of them.
This is why I like to live with a room before I spend money or time on it. I think it's so important to live in a space before you make any major renovation or decor decisions.
SO...while I wait on pieces to come back in stock for my closet makeover, I decided to tackle this pantry! And so far I LOVE IT!
I am so excited about this redo. It's turning out so well, but I want to share my renovation plan with you first.
I figured I'd go with IKEA cabinets, since I've been using their products in my closet. I thought they would be less expensive and be easier to find in stock.
I used their layout plan tool, which is awesome! I entered the measurements of our space and started adding the cabinets:
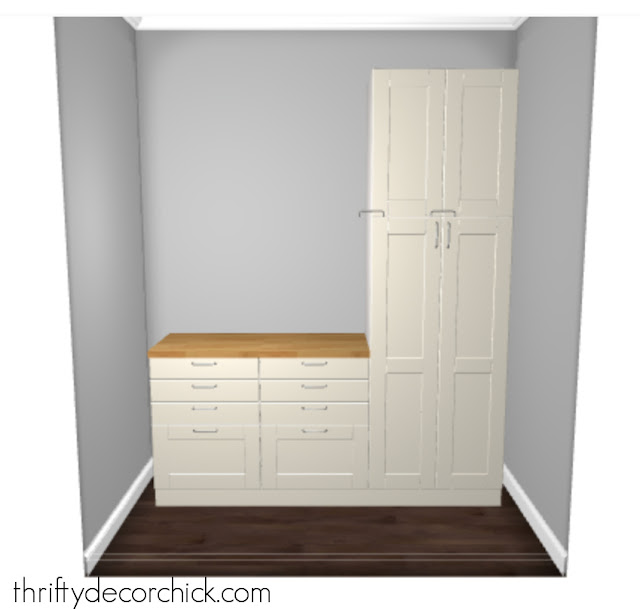
It wasn't exact, because I had about 10 inches of space to fill (more on that in a bit), but it really helped me visualize the layout.
As you can see, I'm only adding cabinets along the back wall, not around the corner like the melamine shelf layout. Since the cabinets are deeper (24"), it was awkward adding a corner cabinet -- it took up way too much space.
On the IKEA site you can click a button and it lists all of the parts and the cost after you're done designing. Turns out it was WAY more than I wanted to spend, and when I saw all of the pieces I'd have to order just to assemble the cabinets, I decided to look elsewhere. :)
Pre-assembled cabinetry it is! Ha!
First I looked into inexpensive, unfinished cabinets like I used in the mud/laundry room:
You can customize these in so many ways!
But I wanted something I could install and it would look good immediately, without much work on the drawer fronts. The pantry redo as a whole is enough work for now. 😀
I ended up ordering in stock cabinets from Home Depot. I chose a light gray option since it would tie in nicely with our kitchen island and vent hood.
I had to play around with my layout, and ended up going with two lower base cabinets, one 18 inch and one 24:
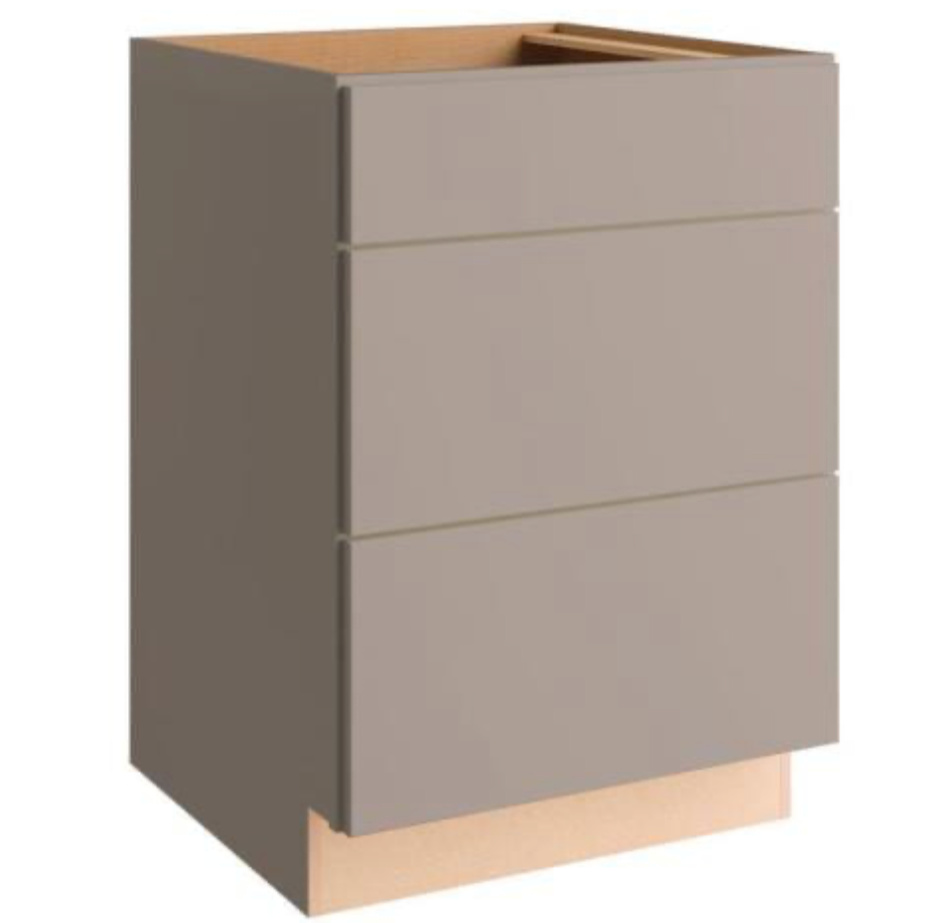
Just like in the mud room, the drawers were a must! I would have a whole kitchen with just drawers if I could do it all over again. They function SO MUCH better in my opinion.
I may add some detail to those cabinet doors later, but for now I'm digging the simpler look.
Because we have plenty of large appliances and bigger stuff like pet food bins, I thought these tall pantry cabinets were the perfect solution:
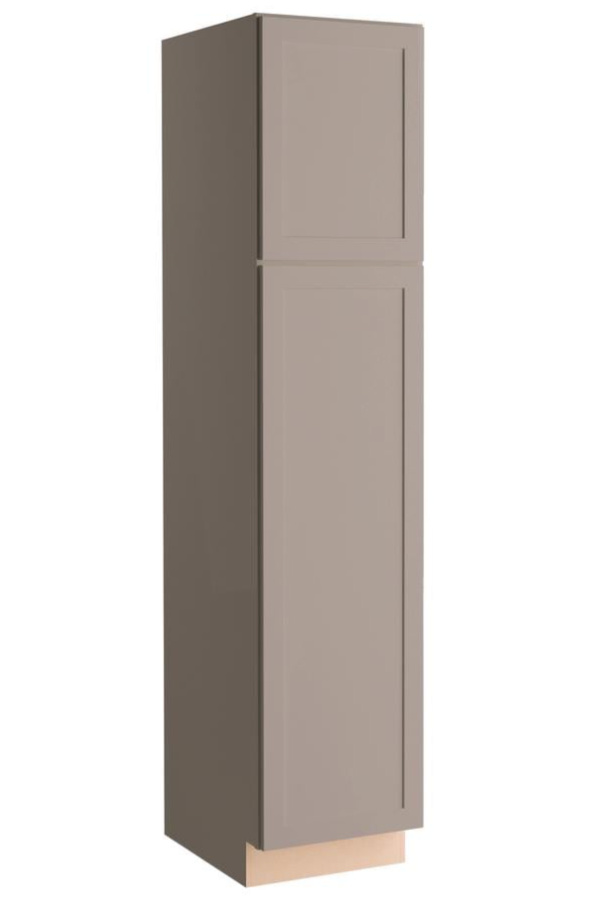
Overall the only cabinetry I'm using is two base cabinets and two tall pantries.
Here are some of my ideas to add plenty of storage in this small space:
- I'm creating a skinny "bookcase" with the remaining ten inches of space we have after the cabinets are installed. I'll use those for baskets with linens and cookbooks.
- I won't be hanging upper cabinets anywhere, but instead will build an open cabinet above the pantry units for large serving dishes and decor.
- I'm most excited about the counter space we'll have in there -- it's not going to be huge (42 inches), but it's going to add so much function! It will allow us to use some appliances in the pantry, prep food, and keep extras while entertaining...so many things!
- I'm adding open shelving above the base cabinets as well. Wood floating shelves are pretty easy to build and they'll add lots of functionality to this space.
We moved on this redo sooner than planned because the electrician could get us in much faster than I thought. If you've ever hired a contractor to work on your house at the end of the year, you know how difficult it is to secure a spot!
The last quarter is always nuts...people (me) want to get projects done before the holidays. :)
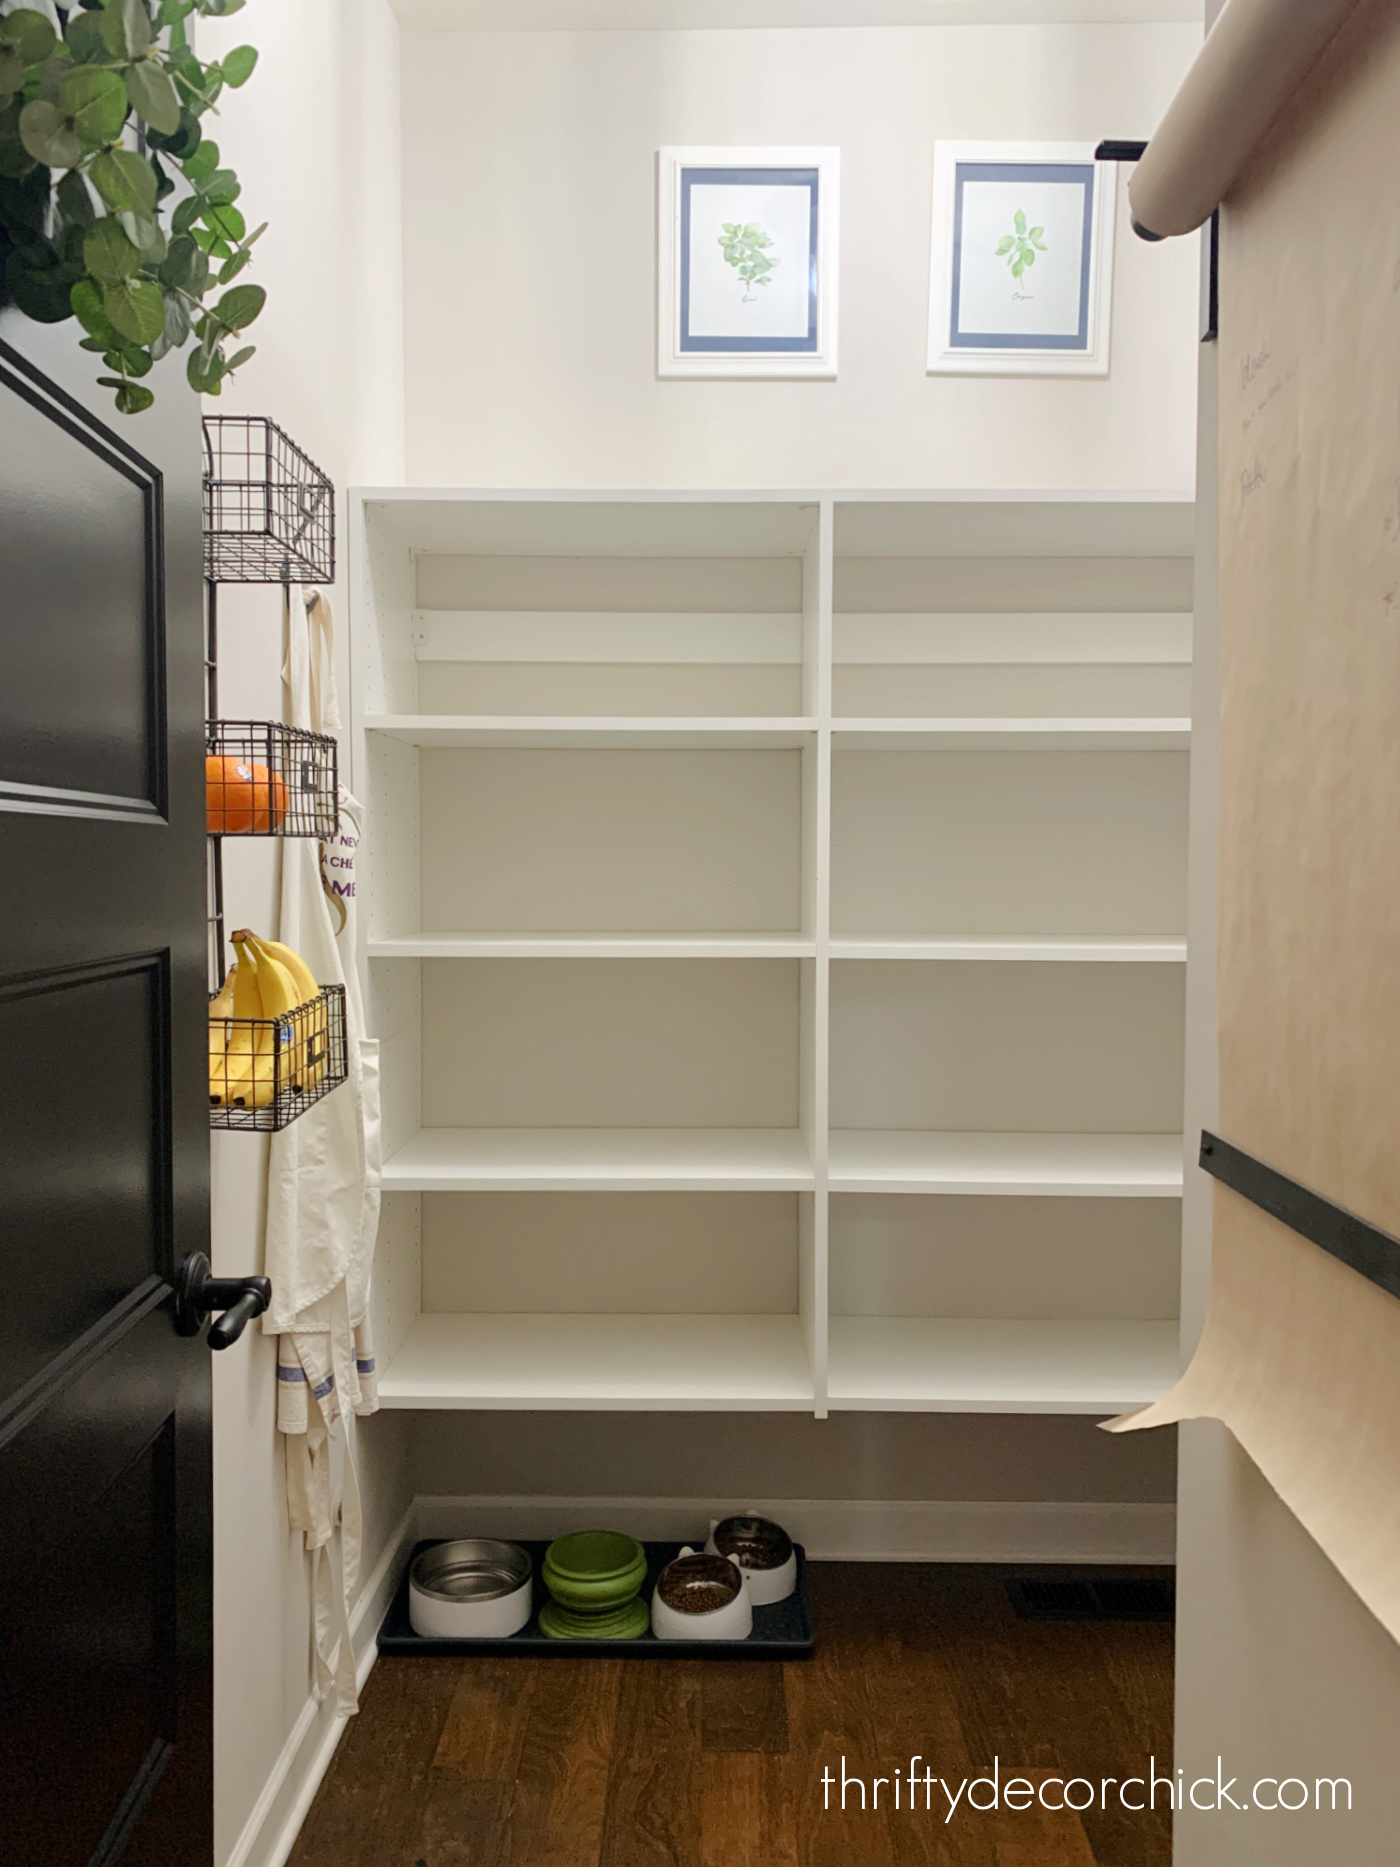
To get this space ready for the electrician, I needed to clear out all of the food. I sorted through every single thing and tossed anything that had expired.
I piled the food and items into our mud room and was left with the empty shelves:
They were pretty easy to remove -- I started with all of the shelves, then removed the top and bottom pieces, then the side parts and the wall supports:
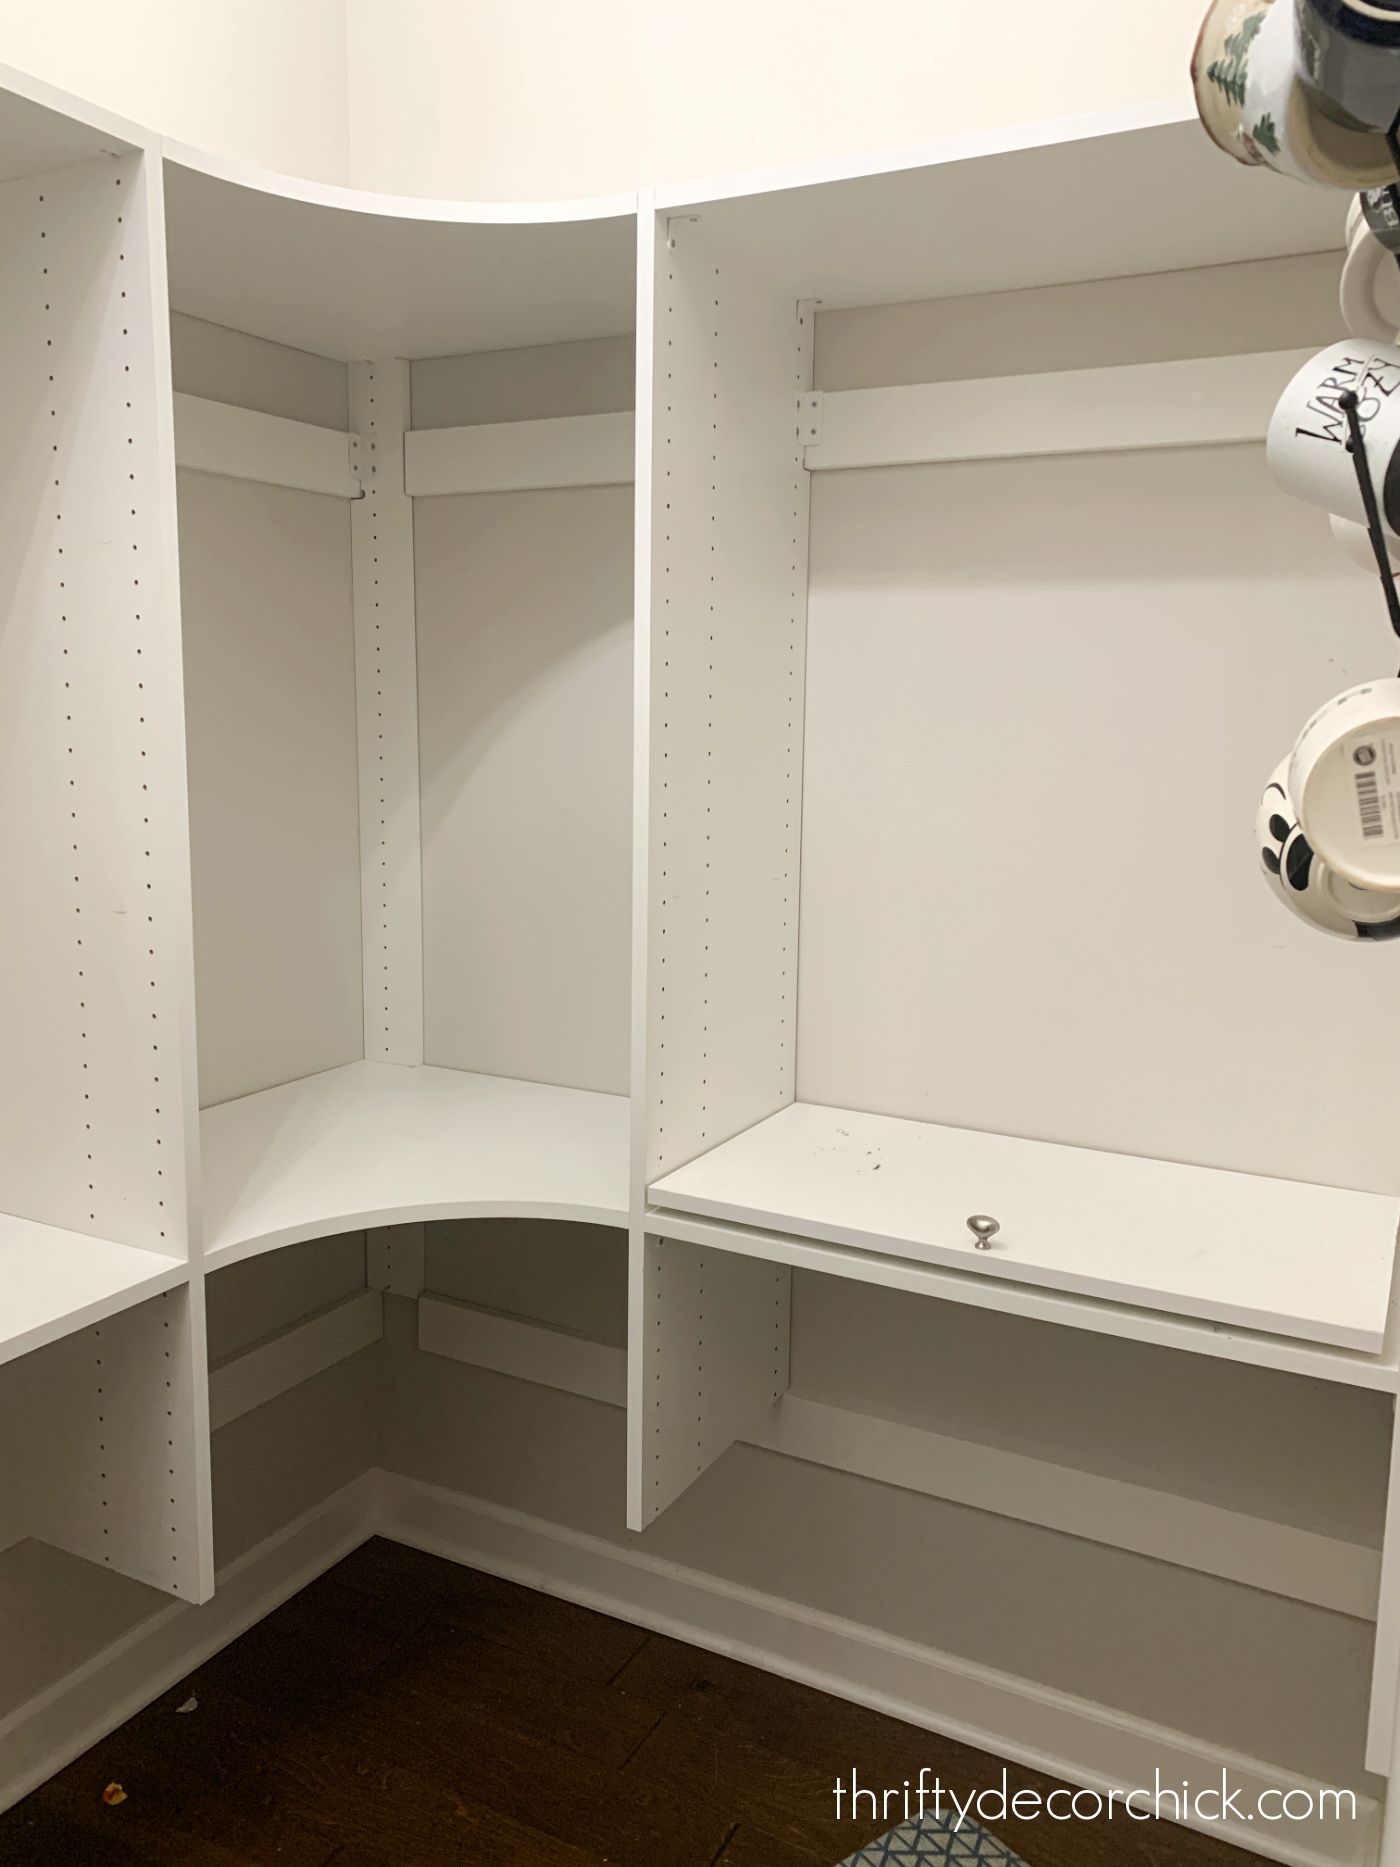
I'm reusing the whole melamine system for two projects -- most of it will go to create a closet built in unit for our son.
The rest will be used to create some pull out shelves for our tall pantry cabinets, so no waste!
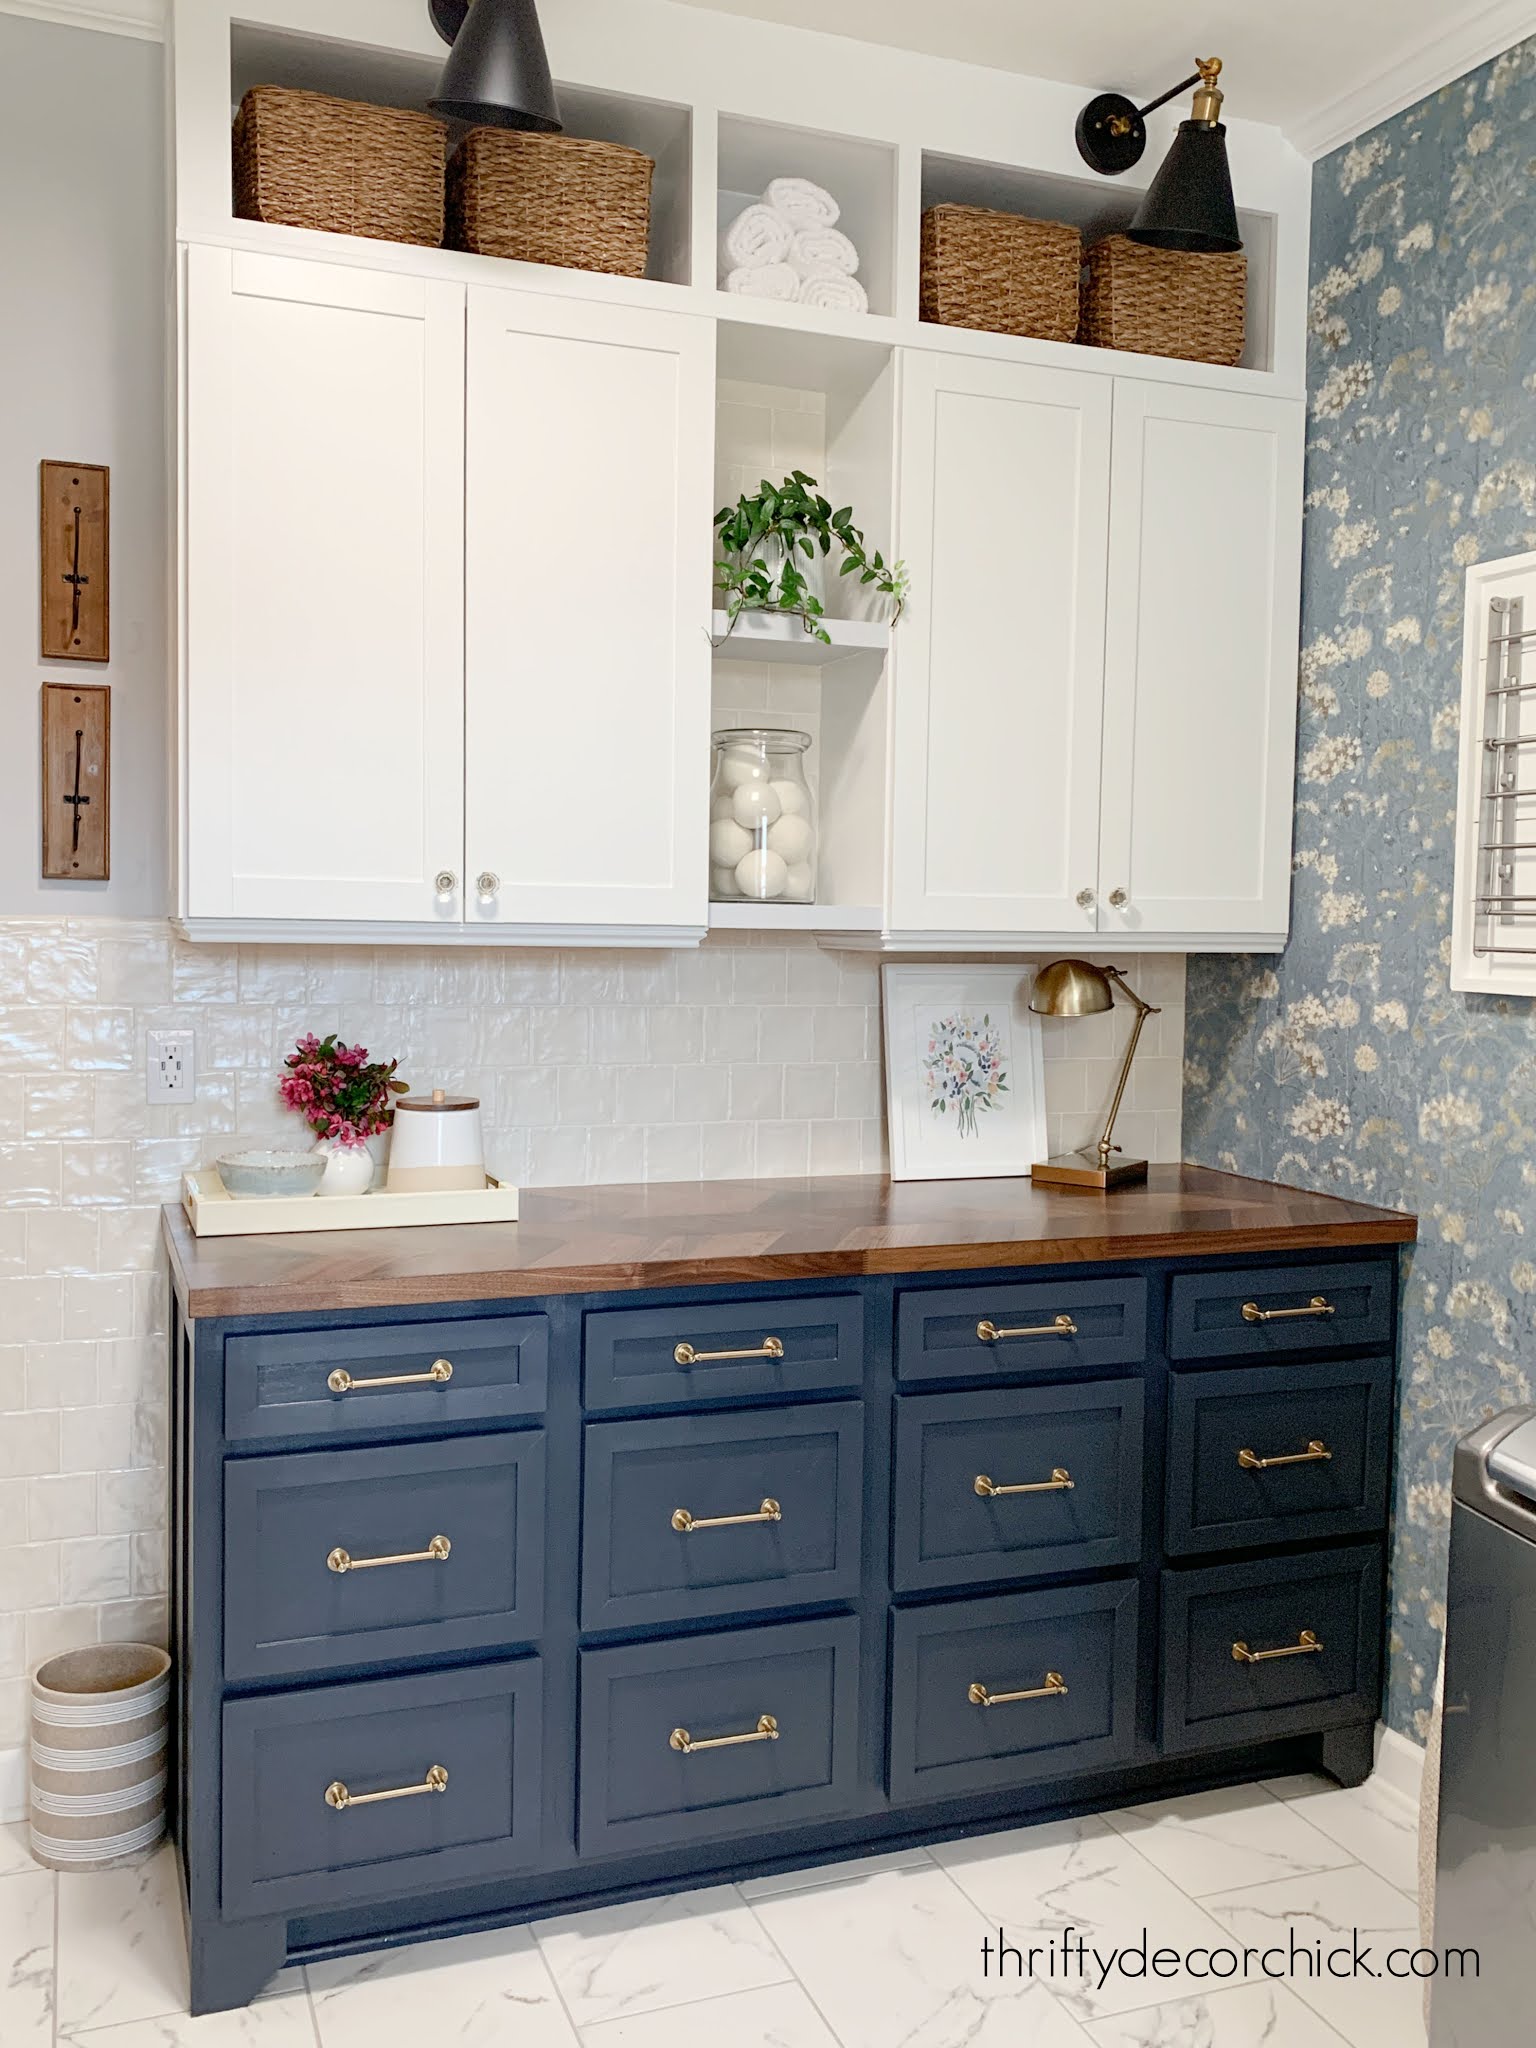
It's been fun to pick out all of the prettier details for this little space. I picked this brass sconce for above the base cabinets, these butcher block counters (so easy and inexpensive!), and some pretty food storage like these glass jars:
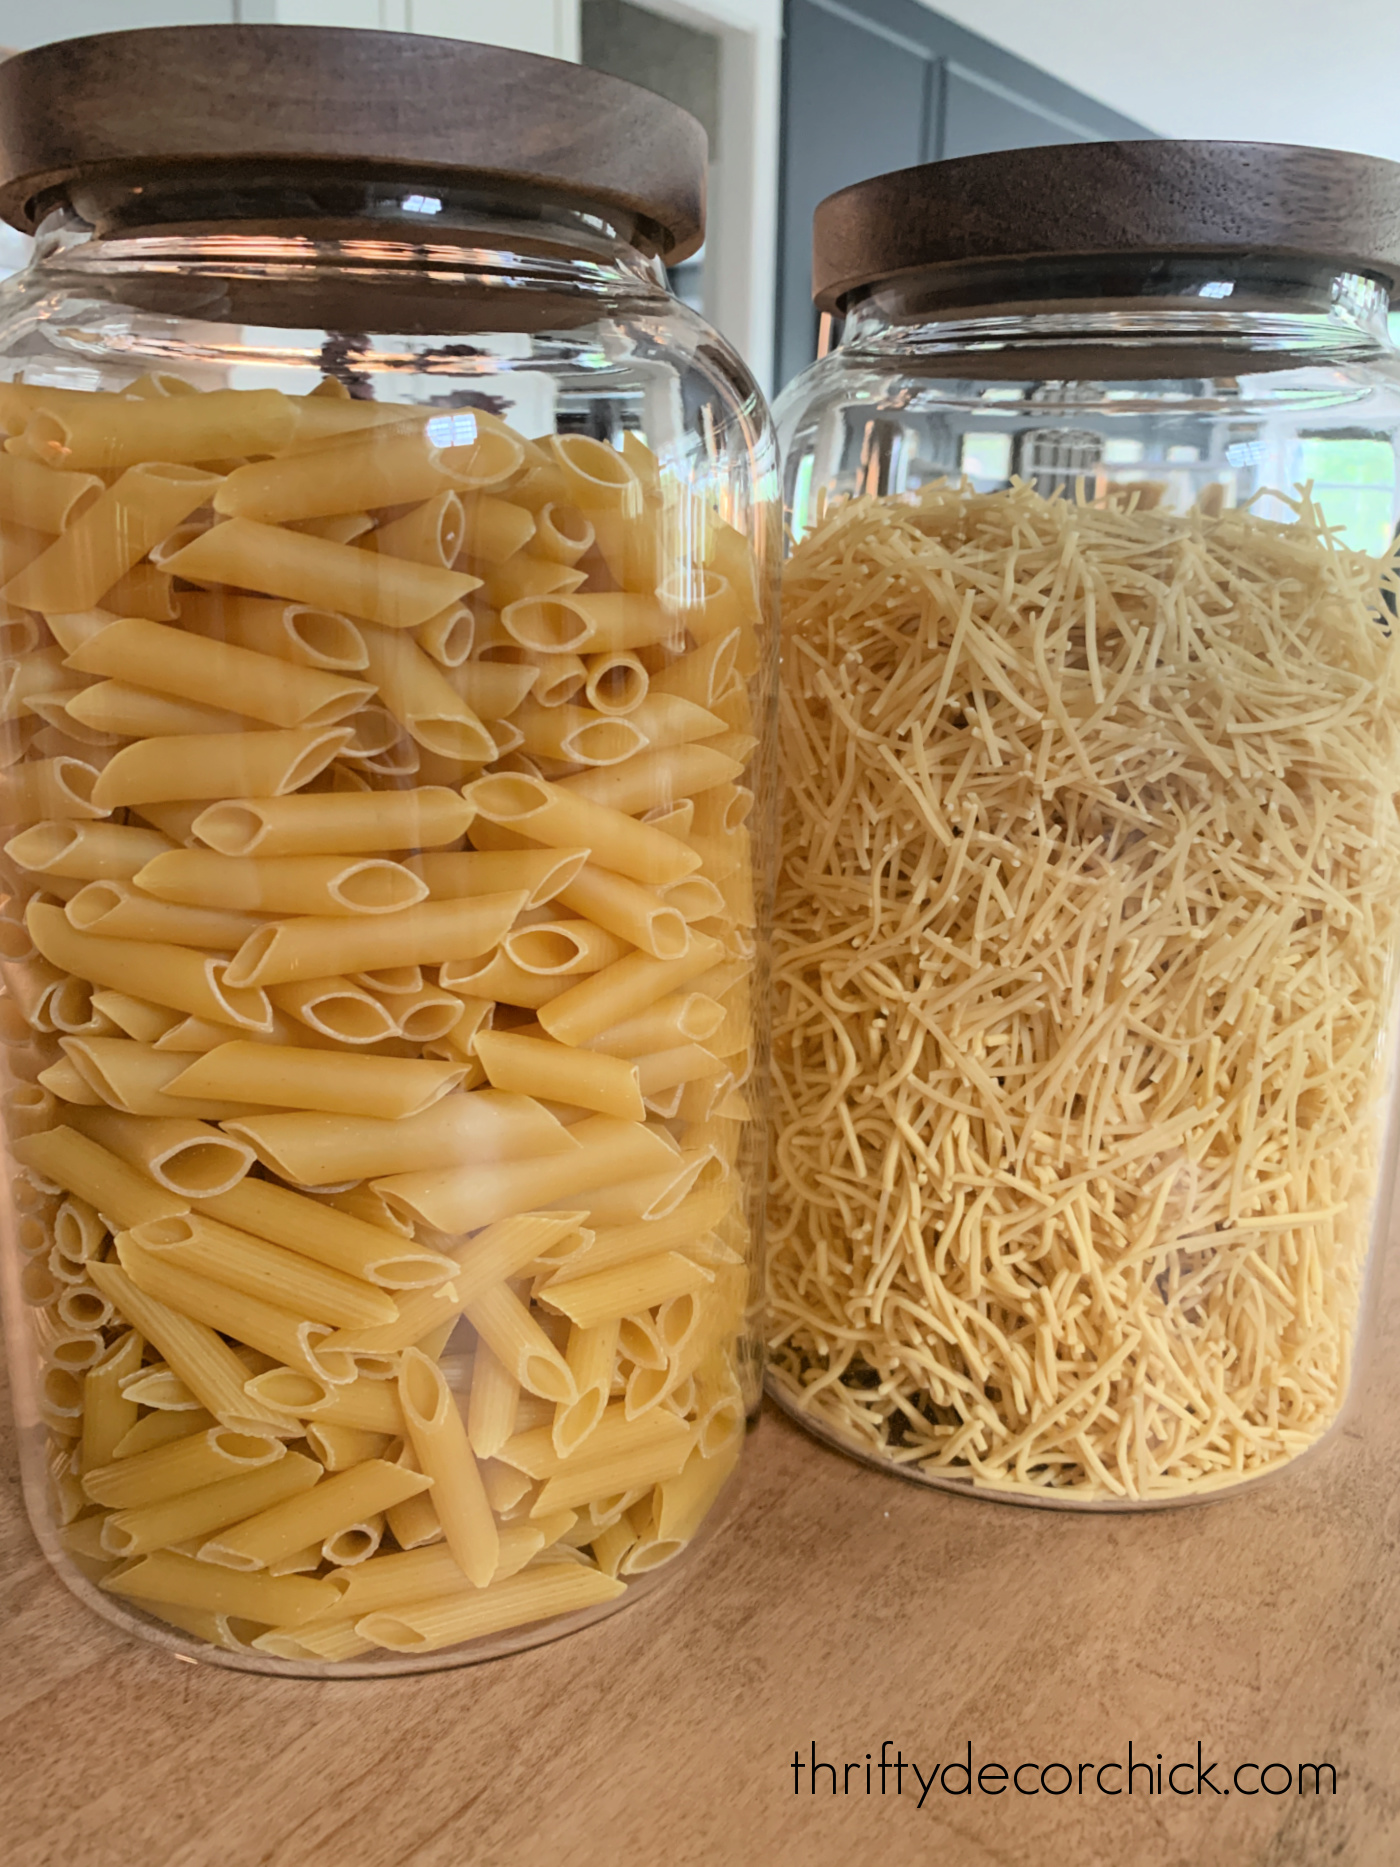
I'm super impressed with them -- the glass is plenty thick and the lid keeps it airtight.
For the tile backsplash above the countertops, I'm trying to decide between two VERY different options.
I absolutely LOVE this blue and gray star tile:
 |
| All blue star tile | Gray version | Black stars | White stars |
I found this exact tile at Floor and Decor. It's called Adessi Atlas porcelain tile. The links under the photo are similar versions in different colorways.
Since it's such a small space, the price is really good! I love the colors in this and the bold design.
But I also love this peel and stick tile, which surprises me:
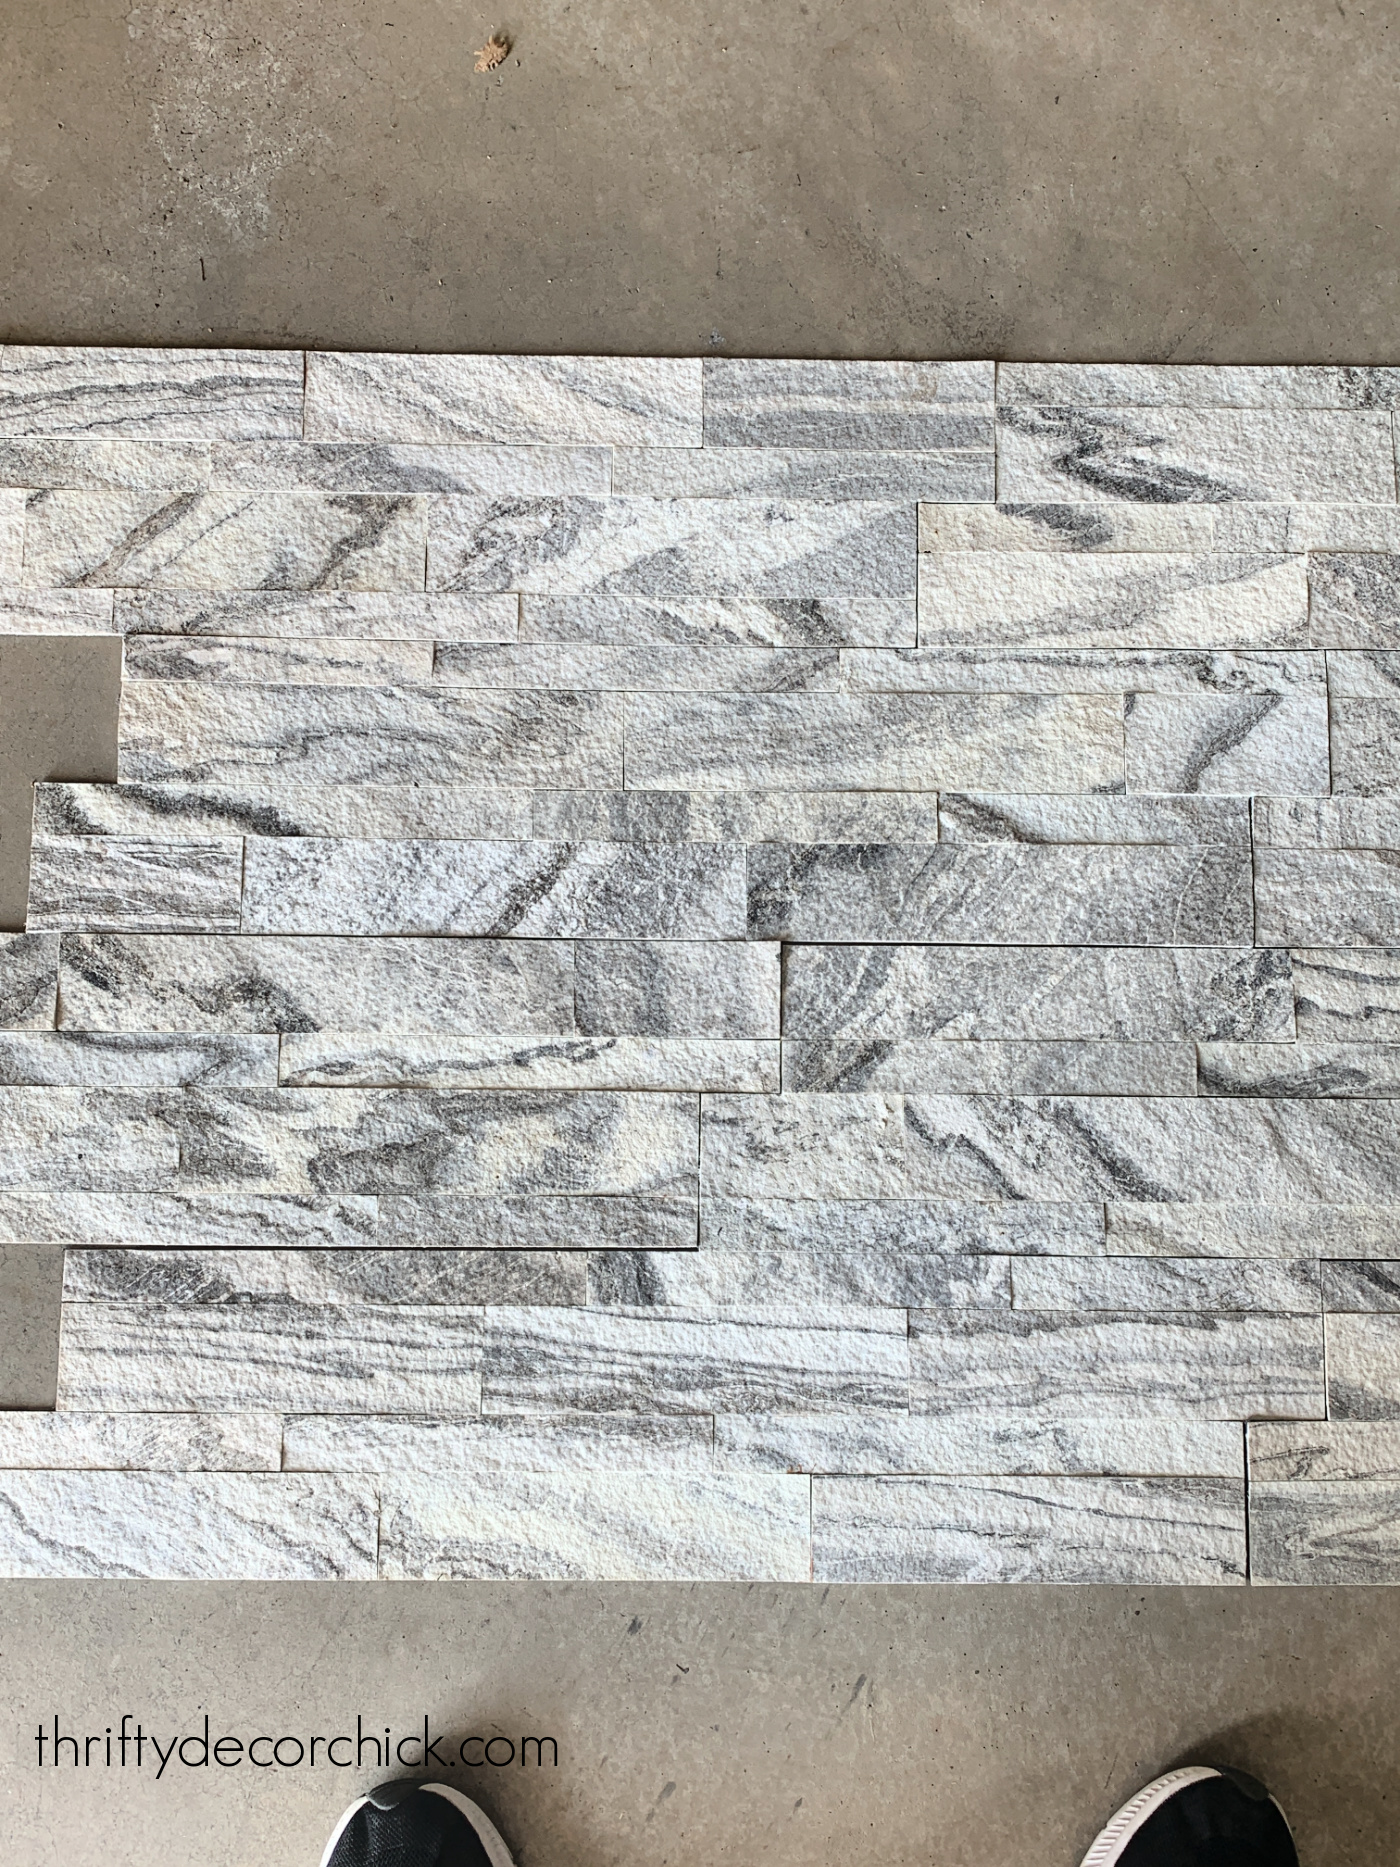

This is the SimplInstall Aspen White Marble peel and stick, also from Floor and Decor.
It's been a long time since I've installed peel and stick tile, and that time it was on the floor. It held up beautifully!
I love that it would be easier to install. No grout, no mortar.
My family prefers the more modern faux stone peel and stick, and I'm really drawn to it. But I also love the bold look of the tile. I can't decide!
I purchased both options, so I'll have to get everything installed and put them up against the wall to help me make a decision.
Are you with me? I'm so excited about this pantry redo! When I'm done it will have WAY more storage, but it will be behind closed doors and easily accessible. I'm thrilled about that!
I'll share more of this butler's pantry makeover soon! Planning and decorating small spaces like this is my favorite -- it takes a lot of problem solving but that's fun for me. :)
Never miss a post by signing up to get posts via email.
This content is property of Thrifty Decor Chick LLC. If you are reading this on any other site other than www.thriftydecorchick.com or one of her social media platforms, please contact her immediately (thriftydecorchick at gmail dot com). Any other use of this content is strictly forbidden.